

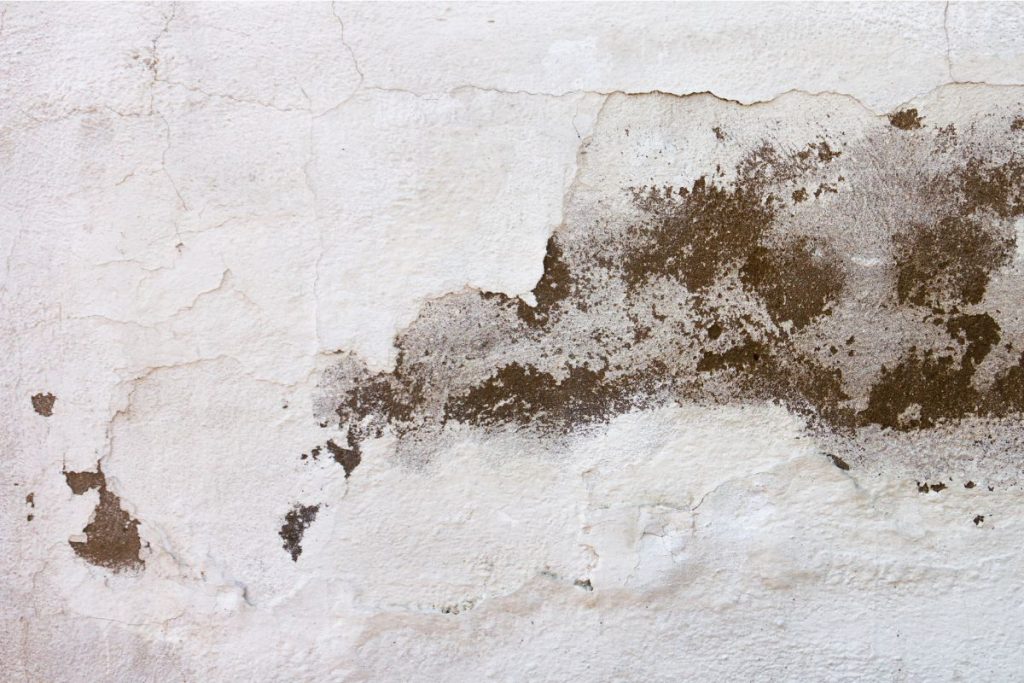
A damp patch on the living room wall rarely fixes itself. It spreads, the paint bubbles, and a few weeks later you see a chalky white bloom or smell something musty near the skirting. Water seepage in walls is one of the most common problems we deal with across HDB flats, condos, and landed homes in Singapore, and the cause is almost never the wall itself. This guide explains what wall seepage is, the signs to look for, the real sources behind it, and how each one is fixed properly so the problem stays gone.
What water seepage in walls actually is
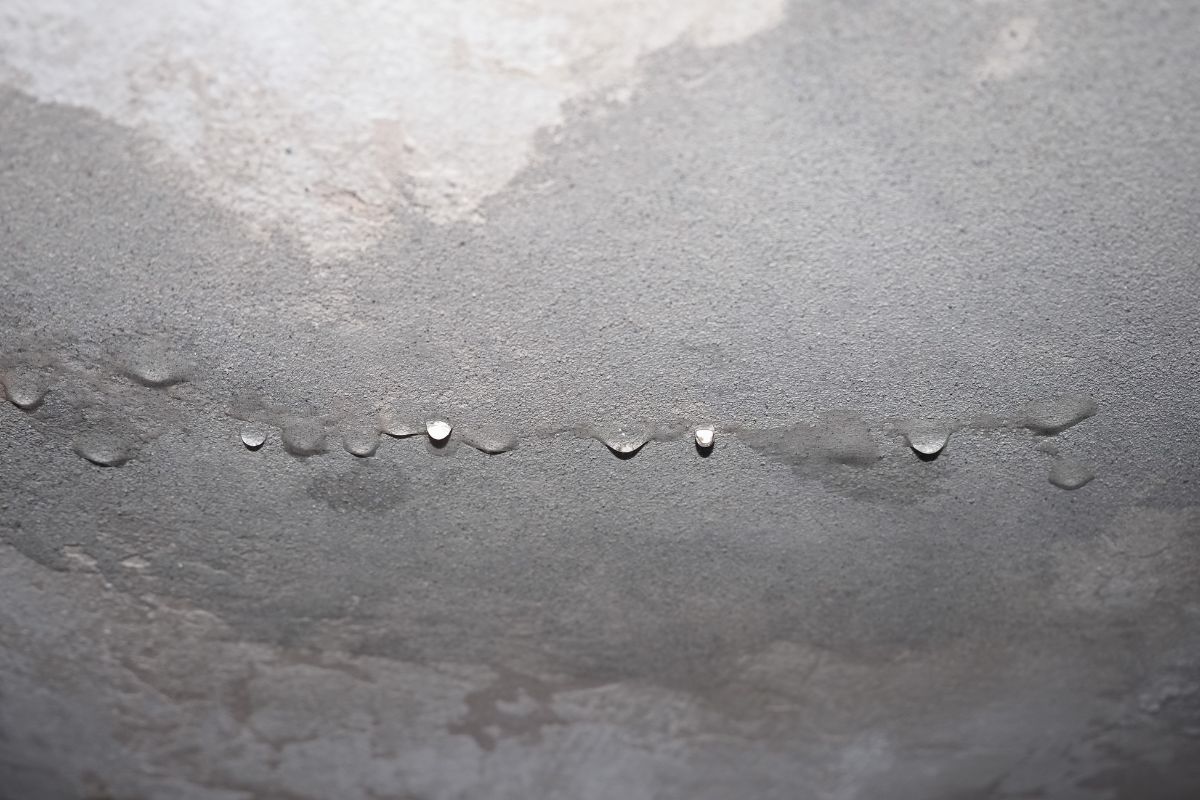
Water seepage is the slow movement of moisture through a wall over days or weeks. Water finds a path through tiny cracks, porous render, failed waterproofing, or capillary pores in concrete and masonry, then travels until it reaches the painted surface you can see. By the time a stain appears indoors, the wall has often been wet behind the paint for a while. That makes seepage different from a fast leak. A burst pipe or a cracked roof gutter drips or runs, and you can usually trace it to one spot. Seepage creeps. The damp patch you see on the inside may sit half a metre away from where water is actually entering. This is why surface repairs so often fail: the painter treats the stain, not the path the water took to get there.
Signs of wall seepage to look for
Damp walls give themselves away early if you know what to watch for. Catching these signs before the plaster crumbles saves you a much larger repair later.
- Damp patches that look darker than the surrounding wall and feel cool or wet to the touch.
- Bubbling, blistering, or peeling paint, often in a soft balloon-like layer over wet plaster.
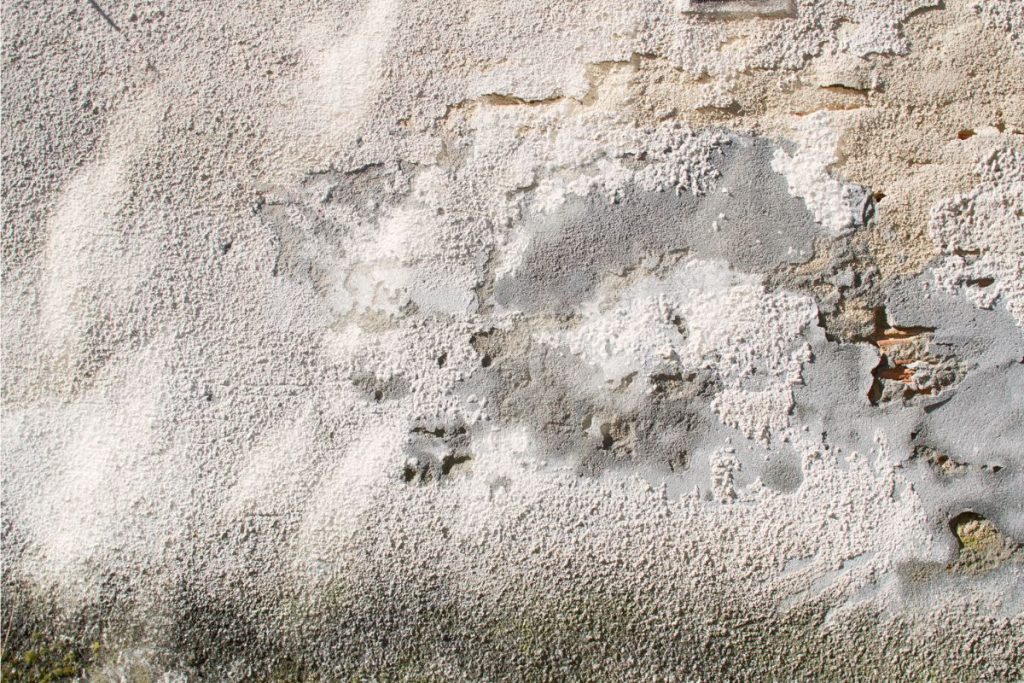
- Efflorescence: a powdery white or grey salt deposit on the surface, sometimes mistaken for mould.
- A persistent musty or earthy smell in one corner of a room, strongest after rain.
- Crumbling, soft, or flaking plaster that comes away when you press it.
- Black, green, or brown mould spots, usually in low-ventilation corners and behind furniture.
Where the seepage shows and what it tells you
The height of the damage on the wall is a strong first clue to the source. We use it to narrow down where to investigate before any tools come out.
Low on the wall, near the floor or skirting
Damp that starts at the base and climbs upward, often in a tide-mark band, points to rising damp or moisture wicking up from a wet floor slab. This is common in older landed homes and ground-floor units where the wall sits against soil or a planter box.
High on the wall or near the ceiling
Damp concentrated up high usually means water is entering from outside or from the unit above. Think failed external wall waterproofing, a cracked render, a leaking window seal, or seepage from a neighbour’s bathroom or balcony. In condos and HDB blocks this is where the question of internal versus external sourcing matters most. If you are unsure which side the water is coming from, our guide on how to tell an internal wall leak from an external one walks through the checks step by step.
Main causes of water seepage in Singapore walls
Singapore’s climate puts walls under constant pressure. Heavy monsoon rain drives water against external facades, high humidity keeps surfaces damp, and shared walls between units pass moisture from one home to the next. Most cases we attend trace back to one of the causes below.
Failed external waterproofing or cracked render
External walls are coated to keep rain out. When that coating ages, chalks, or the render behind it cracks, wind-driven rain soaks straight into the masonry and pushes through to the inside face. This is the single most common cause we see on high-floor condo units and exposed corner flats.
Structural and hairline cracks
Concrete and plaster move with heat and settlement, and fine cracks open up over the years. Even a hairline crack is wide enough for water to enter by capillary action. Larger structural cracks let in far more and need proper sealing from the right side.
Plumbing leaks behind walls
Concealed pipes run inside many walls, especially around bathrooms, kitchens, and the wet kitchen yard. A weeping joint or a pinhole leak releases water continuously, so the damp patch grows even in dry weather. A leak that does not change with the rain is a strong hint that plumbing is involved.
Capillary action and rising damp
Porous building materials draw water upward against gravity, the same way a sponge soaks up a spill. Where a wall is in contact with wet ground, a planter, or a slab that holds water, moisture rises through the pores and shows as a low damp band with heavy efflorescence.
Failed bathroom or wet-area waterproofing
Bathrooms, balconies, and wet kitchens sit behind a waterproof membrane under the tiles. When that membrane fails or was never laid properly, every shower and every mop session pushes water into the adjoining wall. The stain often appears on the dry side of a bathroom wall, in the bedroom or corridor next door.
Defective window and frame seals
The sealant around window frames and aircon sleeves breaks down under sun and rain. Once it cracks, rain runs down the frame and into the wall below the sill, leaving a damp patch that worsens after every storm.
| Cause | Where it appears | Typical fix |
| Failed external waterproofing / cracked render | High on wall, external-facing rooms, worse after rain | Re-waterproof and recoat the external face, seal render cracks |
| Structural and hairline cracks | Following a crack line, anywhere on the wall | PU or epoxy crack injection, then re-render |
| Concealed plumbing leak | Near bathrooms or kitchens, constant regardless of weather | Locate and repair the pipe, then reinstate the wall |
| Capillary action / rising damp | Low band near floor or skirting, white salt marks | Damp proofing and a moisture barrier at the base |
| Failed wet-area waterproofing | Dry side of a bathroom or balcony wall | Re-waterproof the wet area, cementitious membrane, re-plaster |
| Defective window or frame seal | Below window sills and aircon sleeves | Strip and reseal the frame, recoat the surround |
How professionals diagnose the source
Finding the true source matters more than treating the stain, because the wrong fix simply moves the problem along. Here is how our crews trace it on site.
- Moisture meter readings across the wall map where the dampest zone sits, which is often away from the visible stain.
- Thermal imaging picks up the cooler trail left by water inside the wall, helping us follow it back to the entry point.
- Checking adjoining wet areas, the unit above, and external facades rules sources in or out before we open anything up.
- Watching how the damp behaves with the weather separates a rain-driven external cause from a steady plumbing leak.
Surface treatment alone fails because it ignores all of this. Scraping the stain, slapping on sealer, and repainting hides the symptom for a month or two. The water keeps arriving, the new paint lifts, and you pay twice. A proper diagnosis points the repair at the source so it holds.
Repair solutions overview
Once the source is clear, the right repair follows from it. Costs below are indicative SGD ranges and vary with access, wall area, and the extent of the damage, so treat them as a guide rather than a quote.
- PU injection: polyurethane resin is injected into cracks and voids, where it expands and sets to block the water path. Good for structural and hairline cracks.
- Crystalline waterproofing: a treatment that grows crystals inside the concrete pores to seal them, used where water pushes through the slab or masonry.
- External coating: stripping and recoating the outer face with a fresh waterproof system, the fix for failed external waterproofing.
- Cementitious membrane and re-plaster: a flexible waterproof layer applied to wet areas before tiling or plastering, common after bathroom waterproofing fails.
- Damp proofing for rising damp: a moisture barrier installed at the base of the wall to stop water wicking up from the ground.
Which of these you need depends on the diagnosis. If you are weighing a quick repaint against a deeper repair, read our guide on choosing between a repaint or structural fix for wall seepage. For budgeting, our breakdown of wall seepage repair cost in Singapore sets out what each method runs to. When the job calls for trained crews, our Wall Seepage Repair and Wall Leakage Repair services cover diagnosis through to a warrantied fix.
Why you must let the wall dry before repainting
After the source is sealed, the wall is still holding the water that already got in. Painting over a wet wall traps that moisture, and the fresh coat blisters within weeks. Plaster and concrete need time to dry out, often a few weeks in Singapore’s humidity, and sometimes a dehumidifier or fans to speed it along. A moisture meter reading confirms the wall is dry enough before any primer goes on. Skipping this step is the fastest way to undo a good repair.
How to prevent seepage from coming back
A few habits keep walls dry once the repair is done. None of these replace fixing the actual source, but they reduce the chance of a repeat.
- Inspect external walls and the sealant around windows once a year, and after a heavy monsoon spell.
- Reseal window frames and aircon sleeves as soon as the old sealant cracks or shrinks.
- Keep bathroom and balcony waterproofing in good shape, and regrout tiles before water gets behind them.
- Improve airflow in damp-prone corners so humidity does not settle and feed mould.
- Act on a small damp patch early, while it is a minor repair rather than crumbling plaster.
Frequently Asked Questions
What causes damp patches on walls?
Damp patches form when moisture moves through the wall and reaches the painted surface. The usual sources are failed external waterproofing, cracks, a concealed plumbing leak, rising damp from the ground, or water from an adjoining bathroom. The height and behaviour of the patch help point to which one it is.
What are the white salt marks on my wall?
Those are efflorescence. As water passes through the wall it dissolves salts in the concrete and masonry, then leaves them behind as a chalky white or grey deposit when it dries at the surface. Efflorescence is a clear sign that water has been moving through that wall and that the source is still active.
Why does my paint keep peeling after I repaint?
The wall is still wet, or the source was never fixed. Paint cannot bond to damp plaster, so it bubbles and lifts. If the water path is still open, every fresh coat fails the same way. The wall must be sealed at the source and fully dried before repainting.
Is wall seepage the same as rising damp?
Rising damp is one type of wall seepage, not the whole picture. Rising damp is moisture wicking up from the ground through capillary action, and it shows as a low band near the floor. Seepage also includes water entering from outside, from cracks, from plumbing, and from wet areas, which tend to show higher up the wall.
Can I just repaint over wall seepage?
No. Repainting hides the stain for a short while, but the water keeps arriving and the new paint soon peels. The lasting fix is to find the source, seal it, let the wall dry, and only then repaint. A waterproof sealer applied over a still-wet wall will not hold.
How do you find the source of wall seepage?
We map the wall with a moisture meter to find the wettest zone, use thermal imaging to follow the water trail back to its entry point, and check adjoining wet areas, the unit above, and the external facade. We also watch how the damp reacts to rain, which separates an external cause from a steady plumbing leak.